Onboarding Step-by-Step
This article explains how you can set up your Mocingbird profile, quickly and easily!
Navigate to Sign In on the Mocingbird website. Click Sign up on the bottom of the screen.

Next, enter in your email address and click the purple Sign up button.

From there, navigate to your email to verify and continue the onboarding process.

After clicking Verify Your Email, you will be redirected to a new tab. Click LET’S GET STARTED.

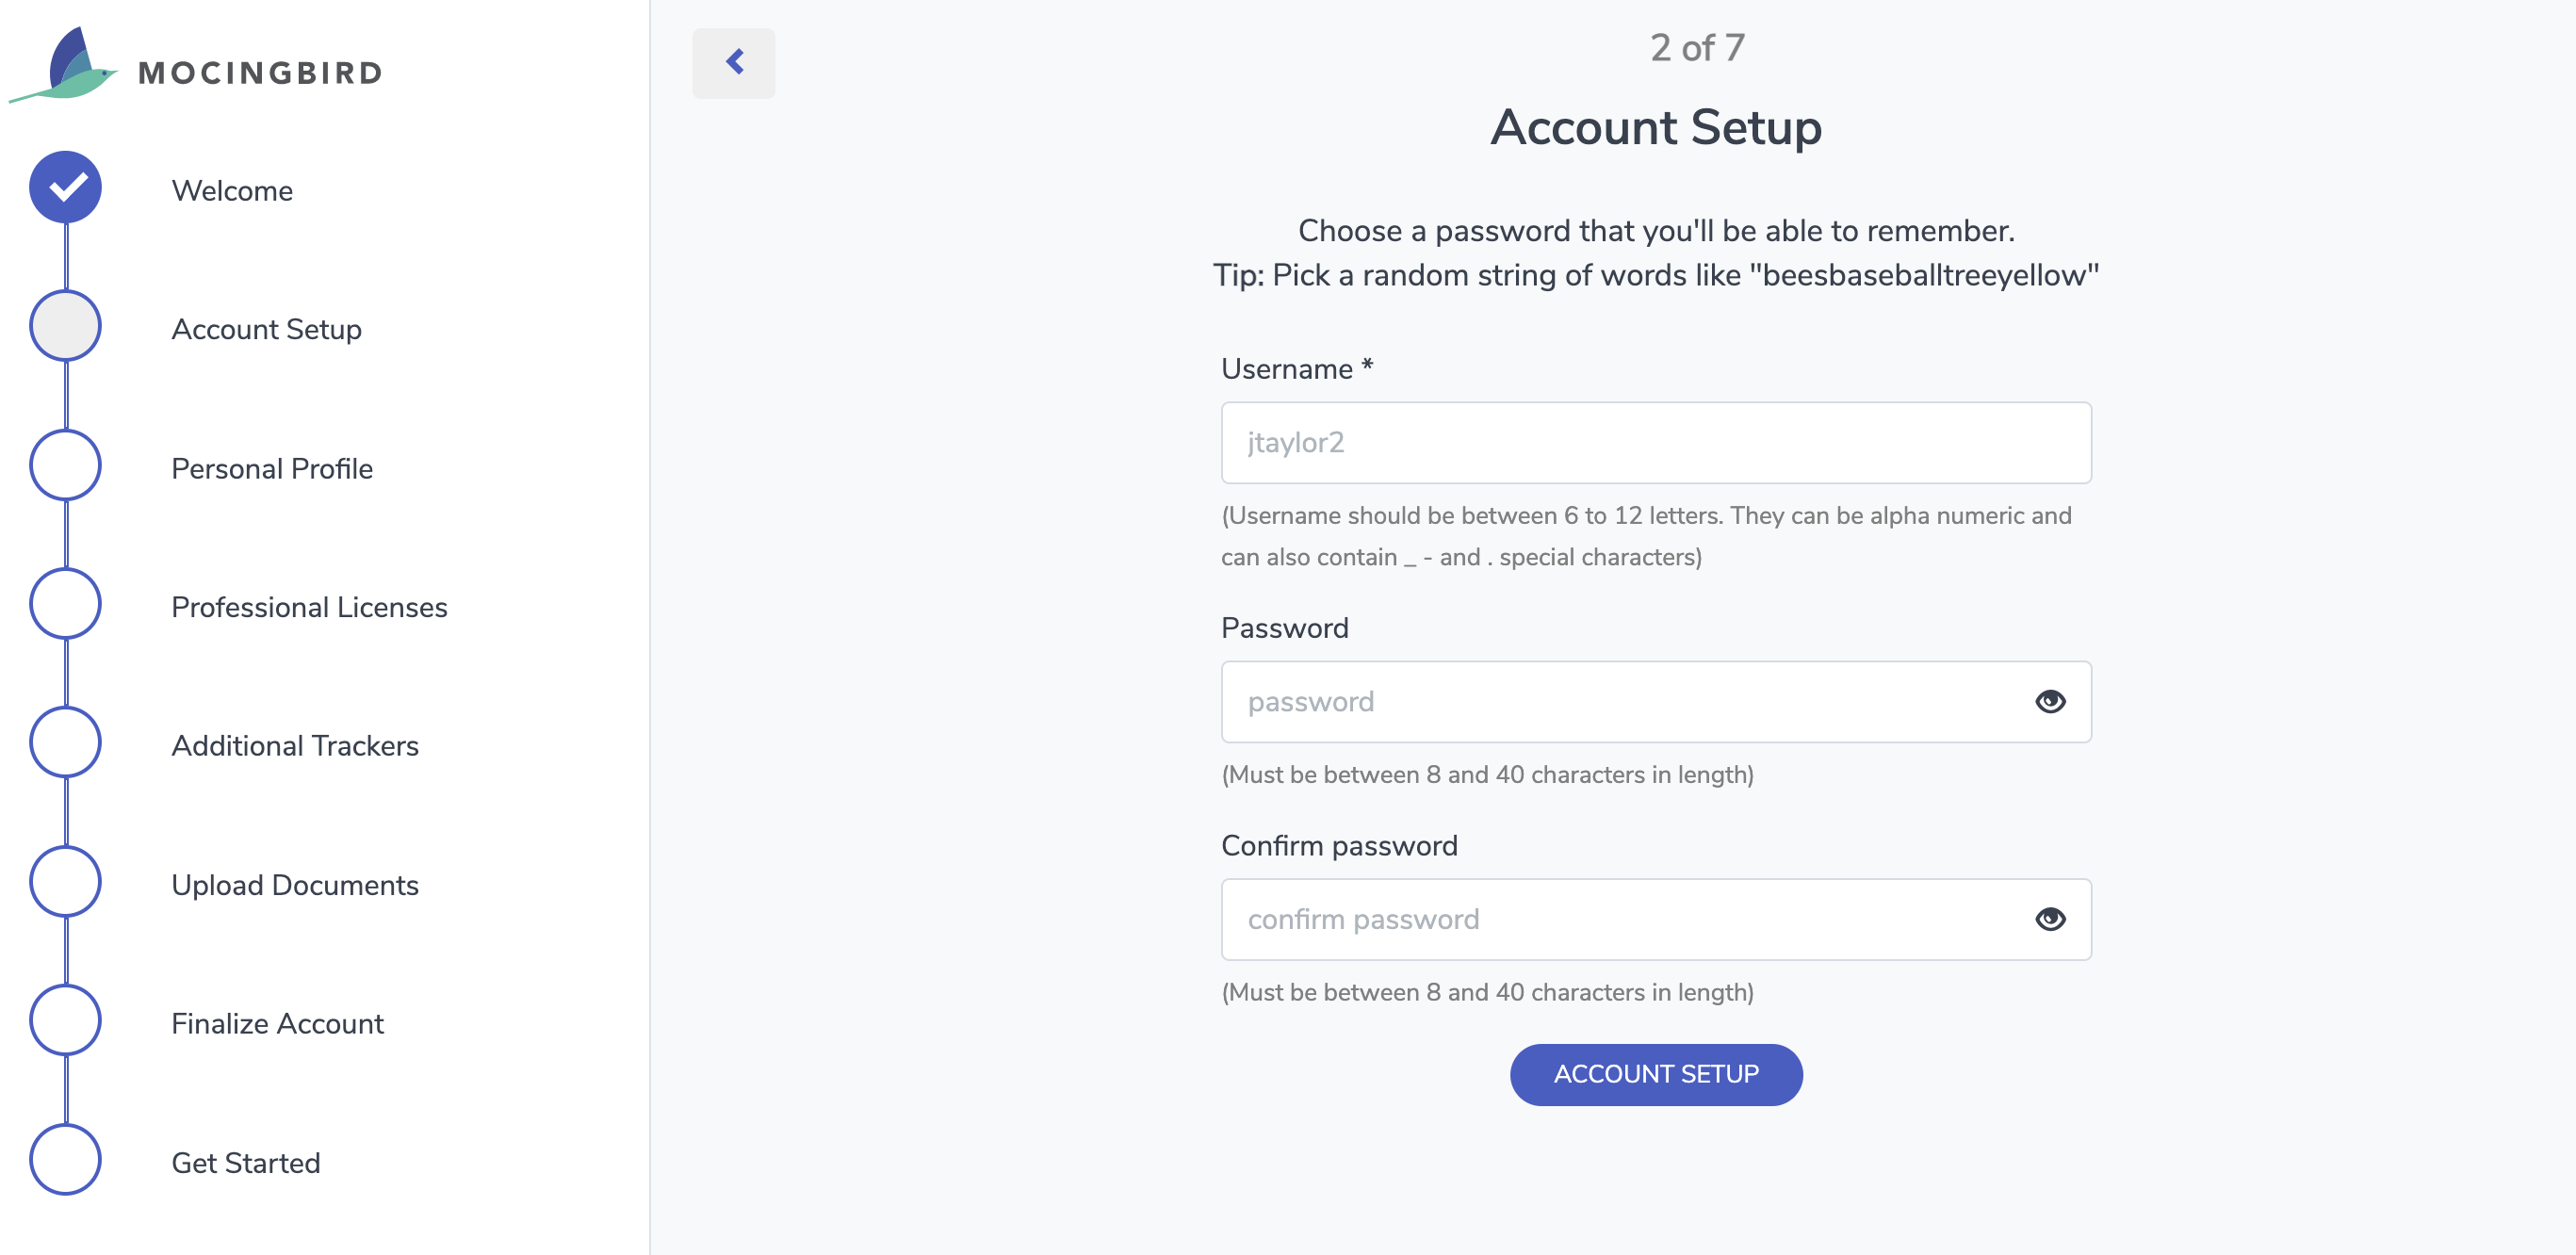
ACCOUNT SETUP. Enter in a username and password to create an account.
PERSONAL PROFILE: Using the drop-down menu, select your user type. Then enter your NPI number, first and last name, or use the lookup feature provided. Then, please enter your workplace address, city, state, and zip code. You can also enter your phone number here. If you are a part of a Mocingbird Partner Association you can select that in the drop-down list.
It is very important to select the correct user type because this cannot be changed.

PROFESSIONAL LICENSES: Add your Board Certification(s) and State License(s) here. If you are not sure of your license numbers, certification dates, etc, you can skip this step and add these later once your account has been set up.

ADDITIONAL TRACKERS: Next, select the trackers you want us to track in addition to your Board Certifications and State Licenses.

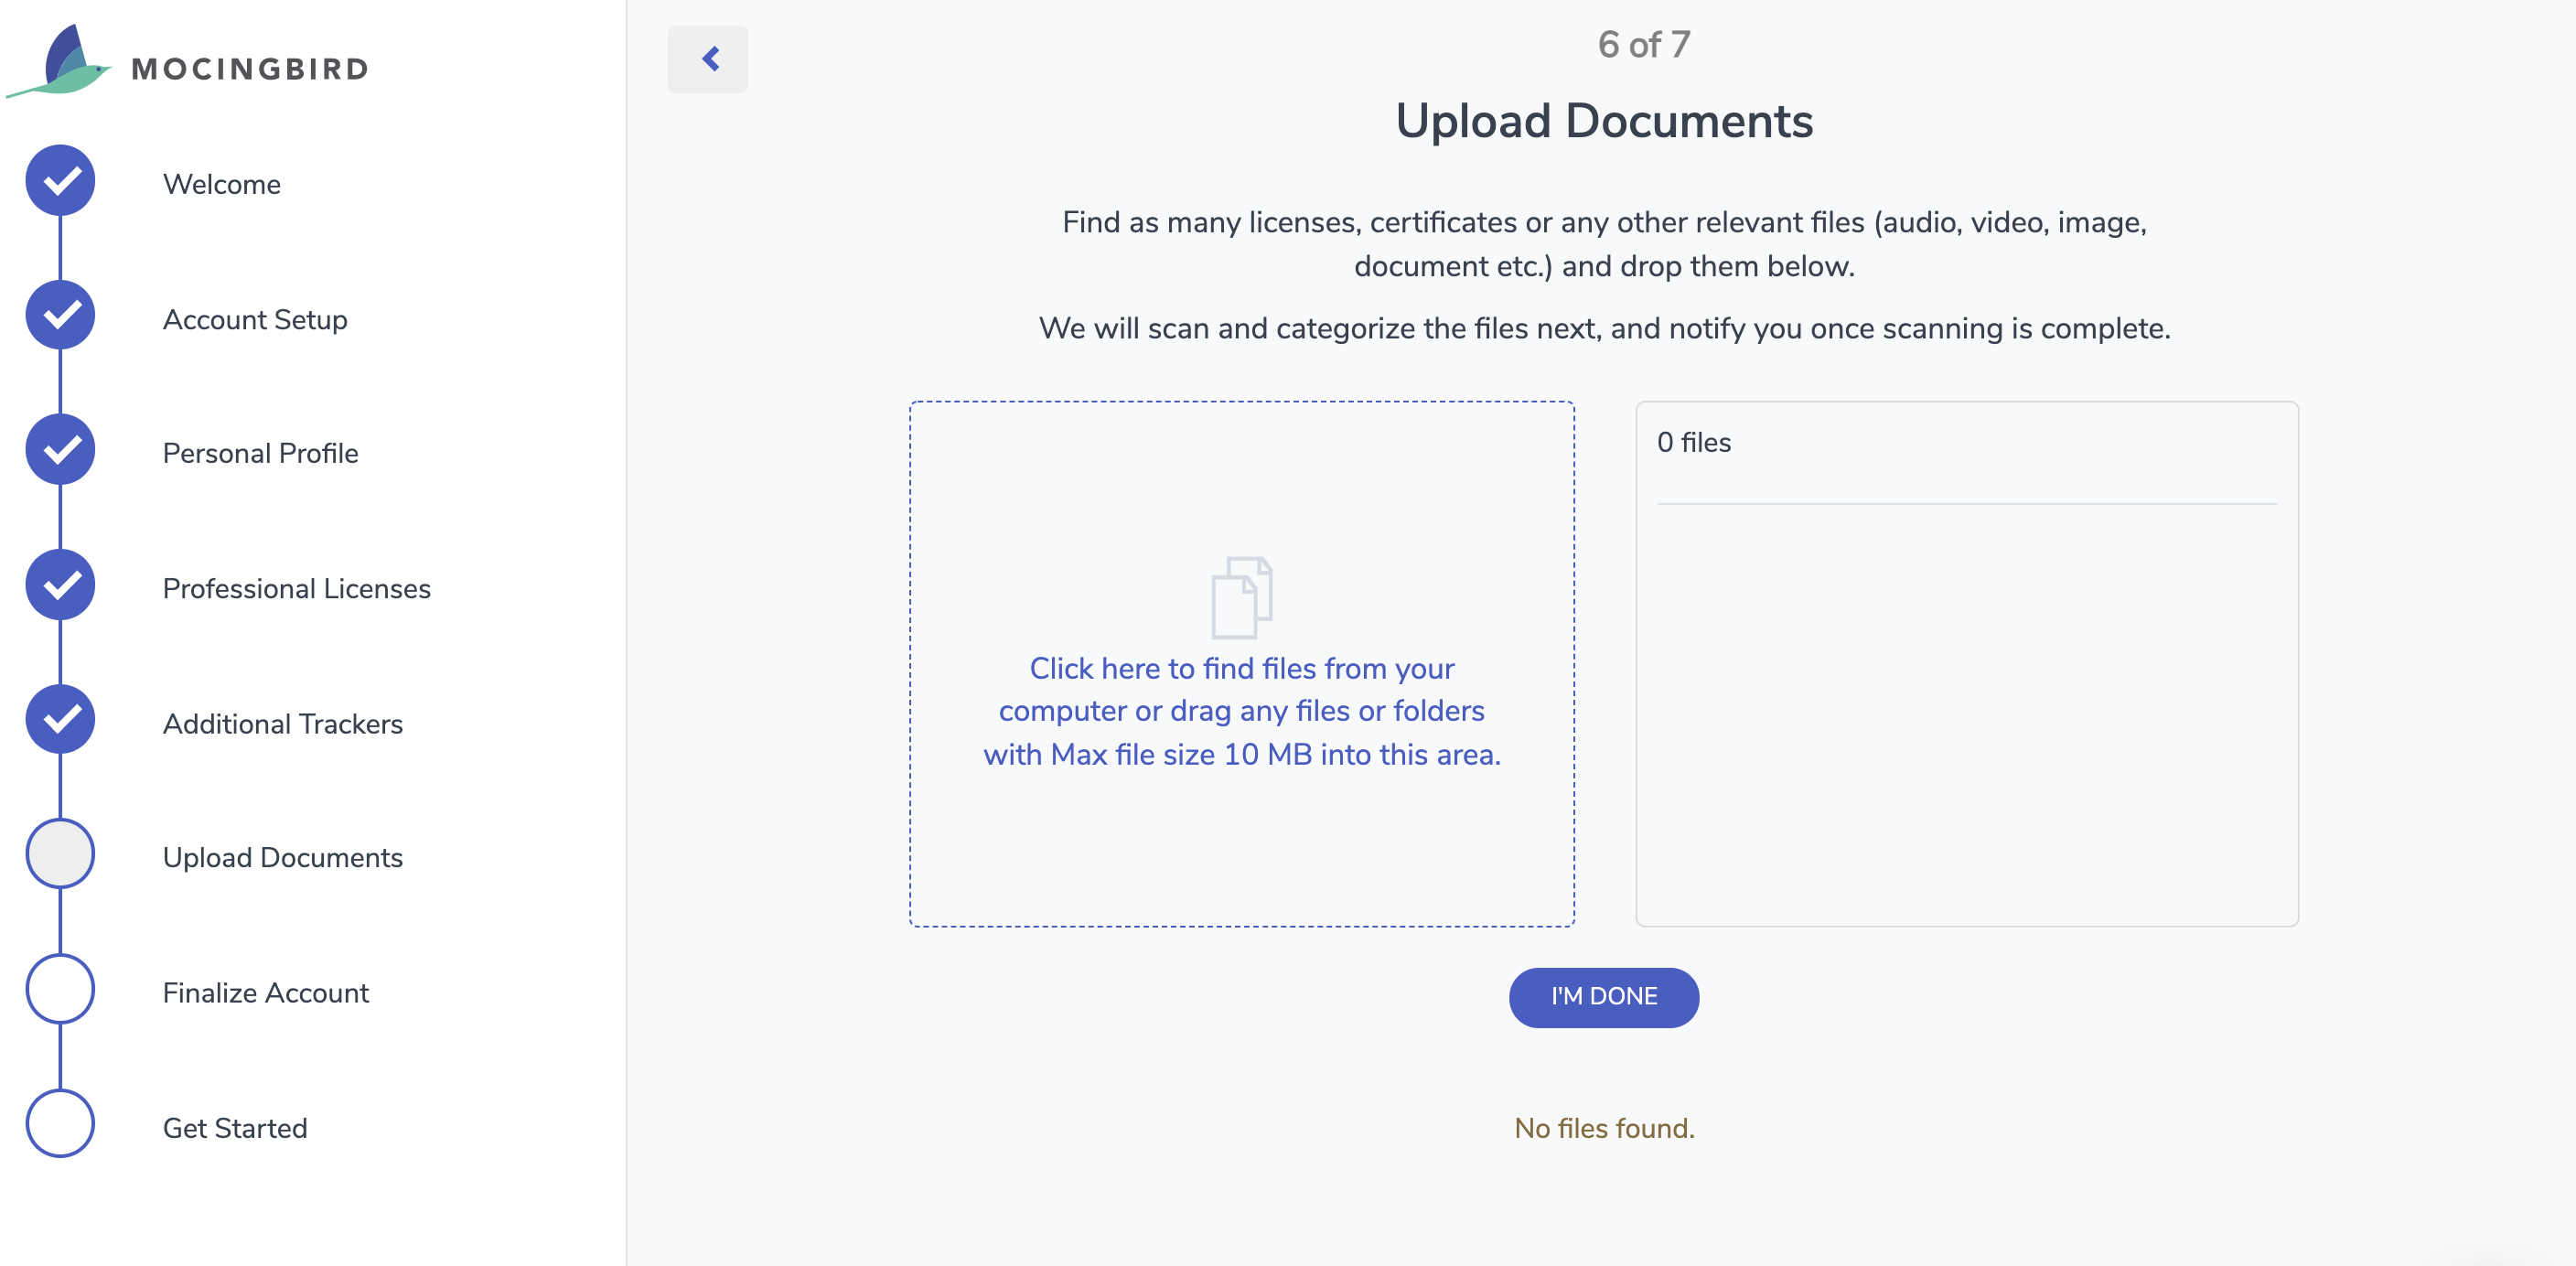
UPLOAD DOCUMENTS: You can now use this time to upload any documents, certifications, files, etc, that we will sort into folders for you, or you can go back and add these another time.
FINALIZE ACCOUNT: Now is when you can choose your monthly or yearly subscription, and enter in your card information. Make sure you check off that you agree to the Terms of Service & Subscription Agreement before clicking SUBSCRIBE. If your practice or a third-party organization is paying for your subscription, this step should not appear.
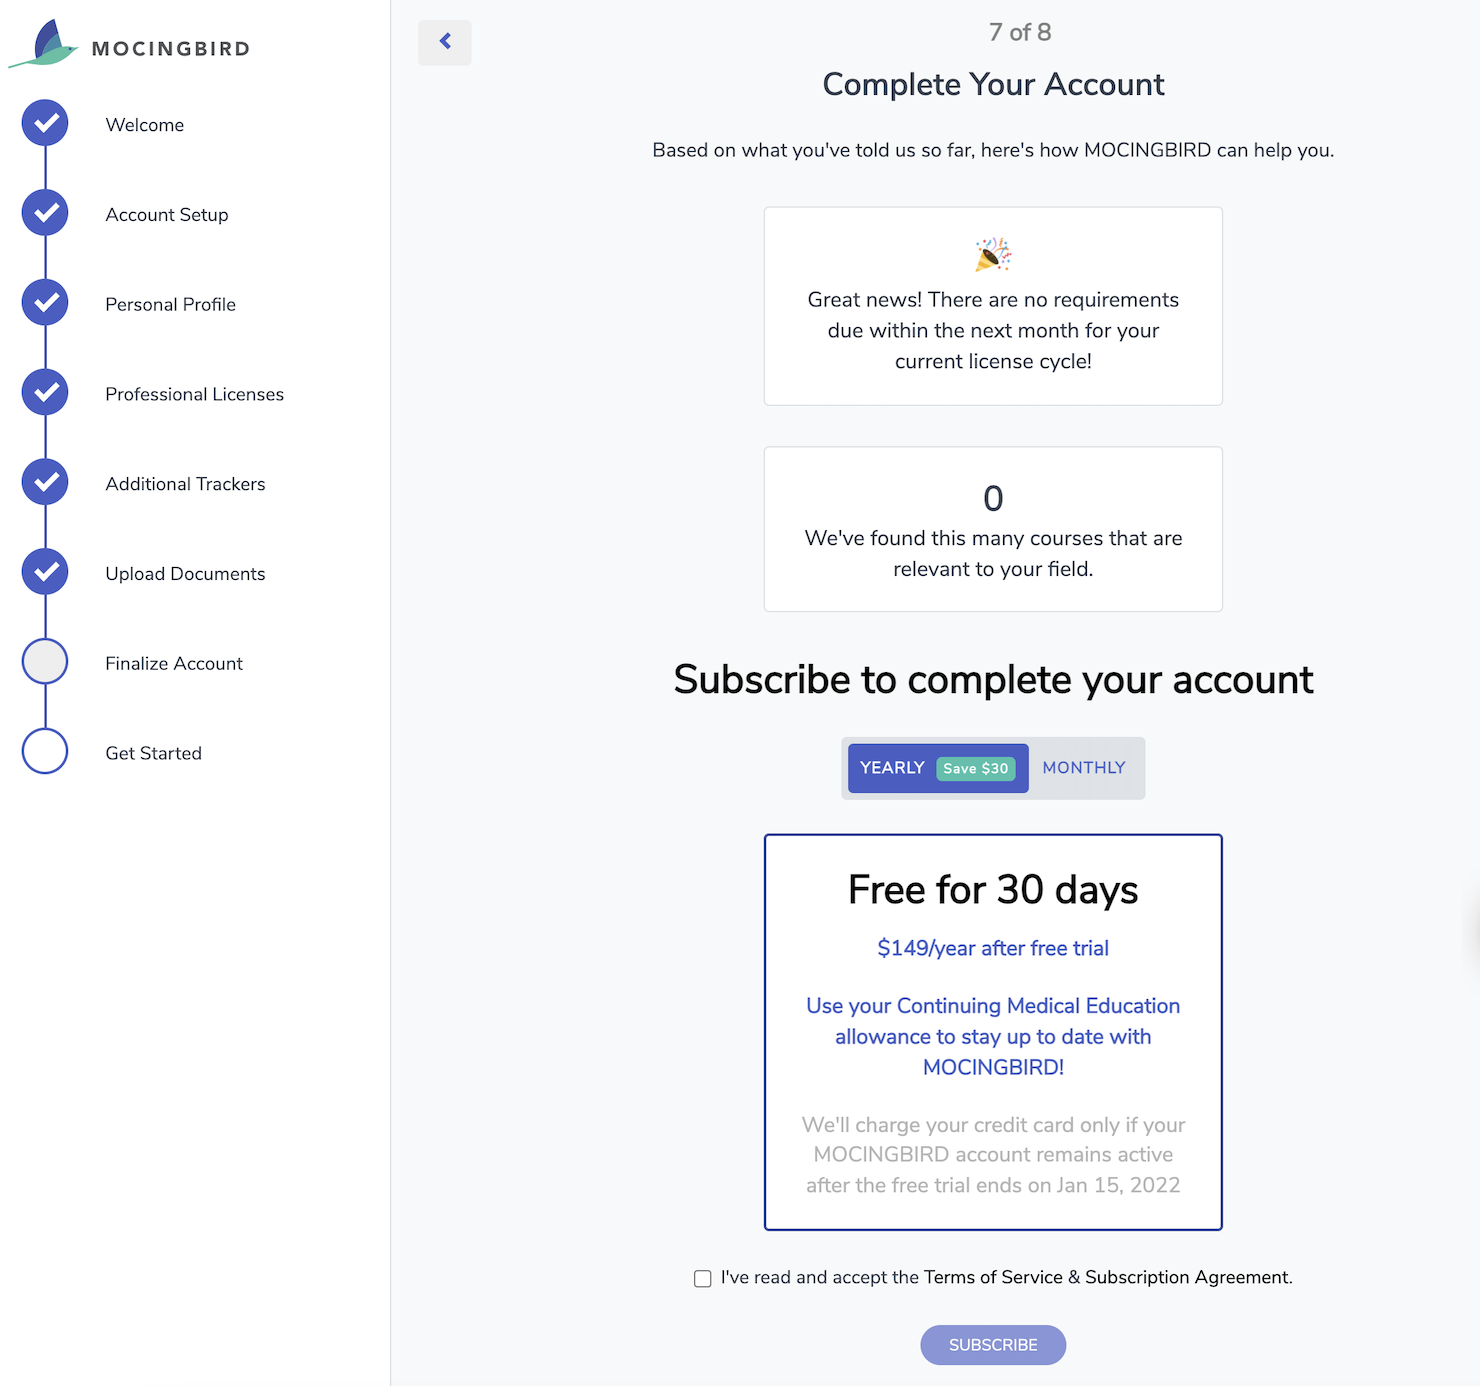
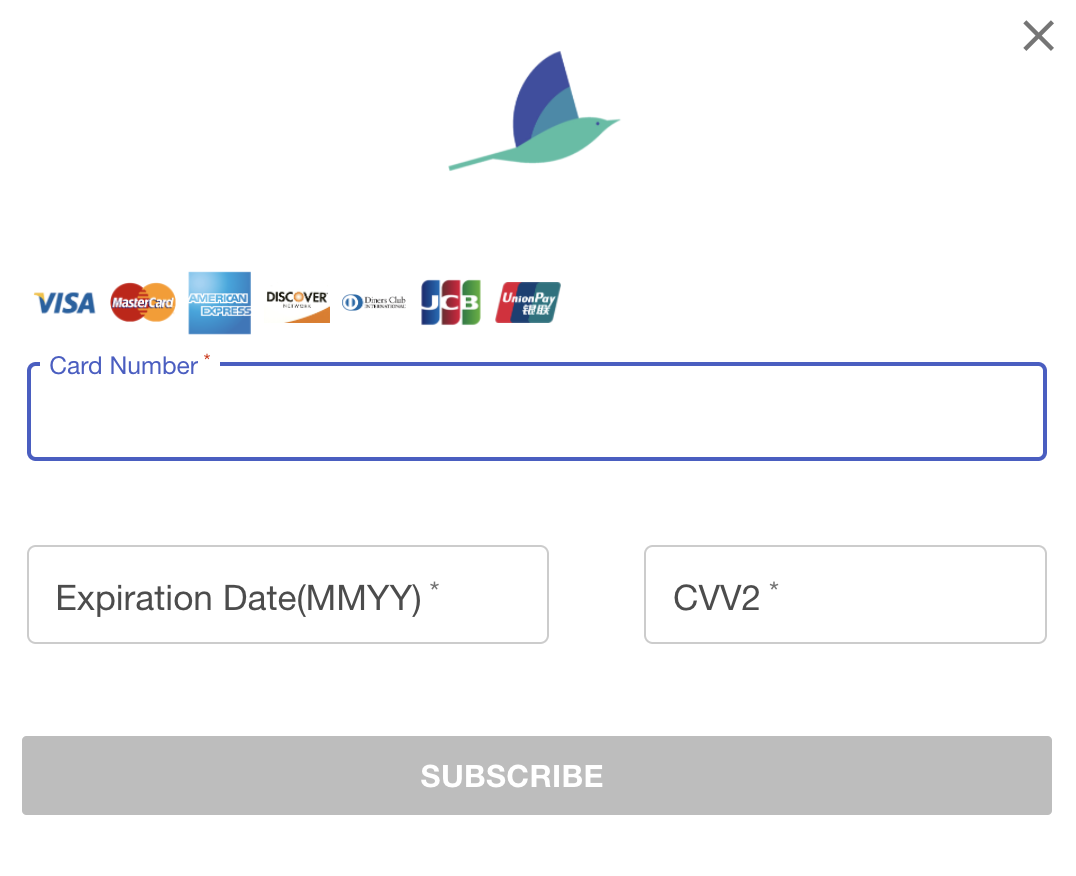
Enter your credit card information, then click SUBSCRIBE. Once your payment is approved, click OK.
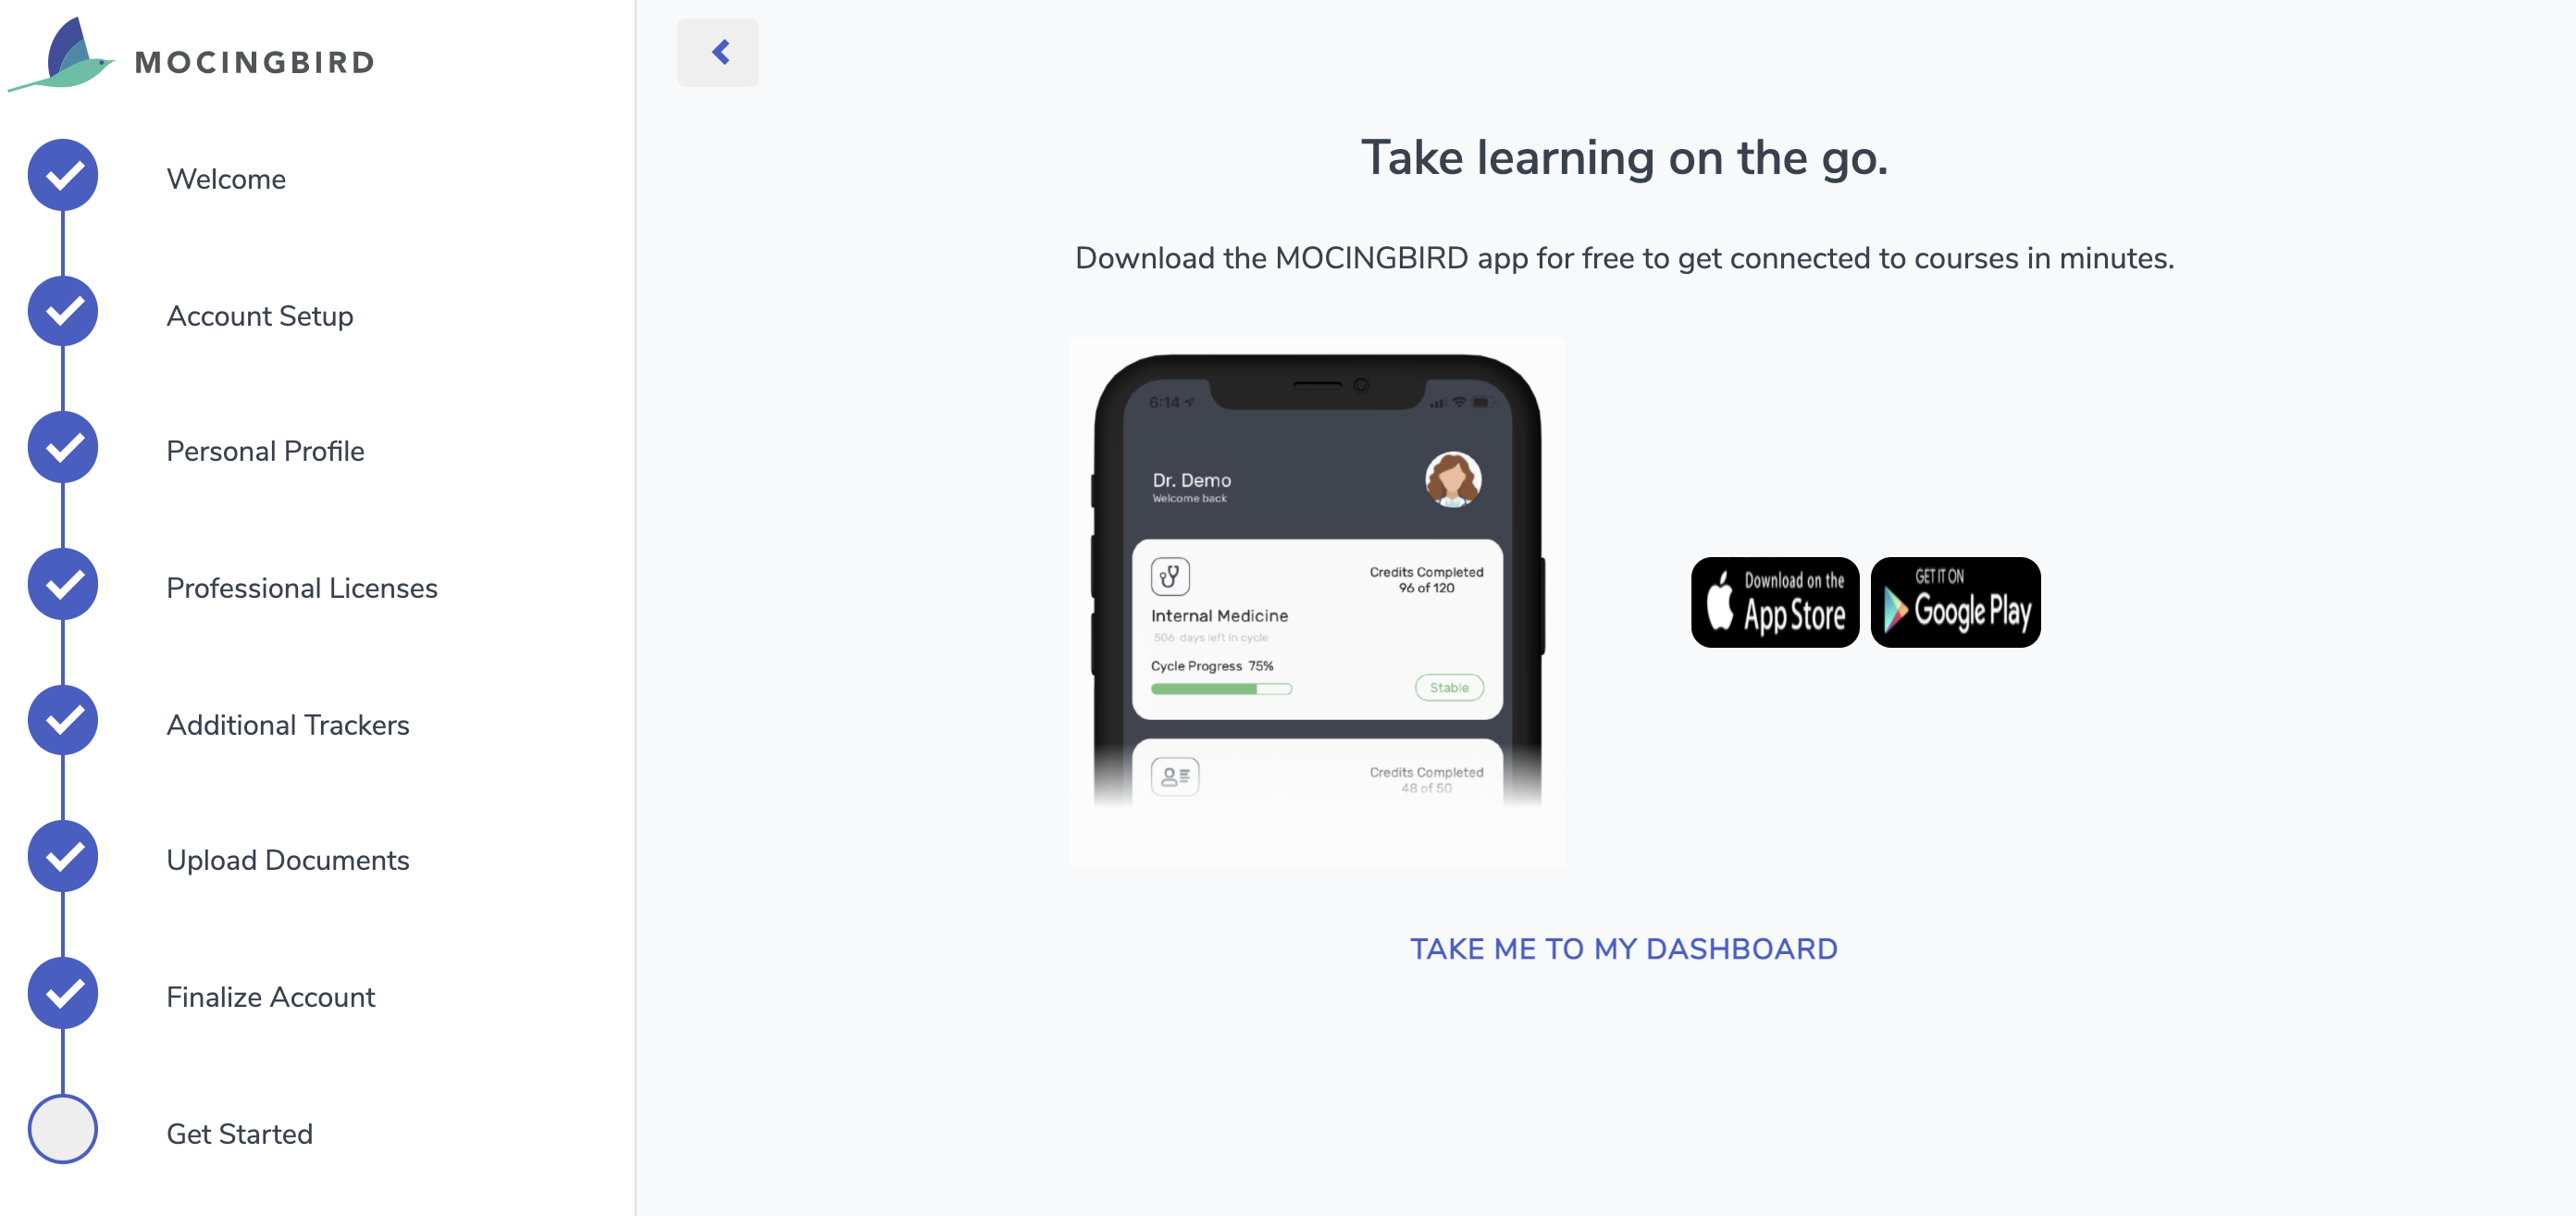
GET STARTED: Click TAKE ME TO MY DASHBOARD.
