Creating your new Gmail:
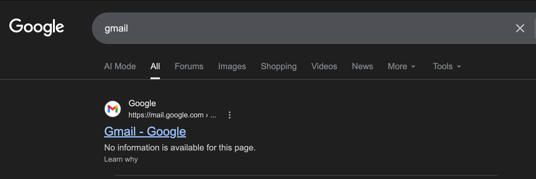
Step 1: Navigate to Gmail to create a new address. If you are unsure of how to get there, simply find Gmail through the Google search option.
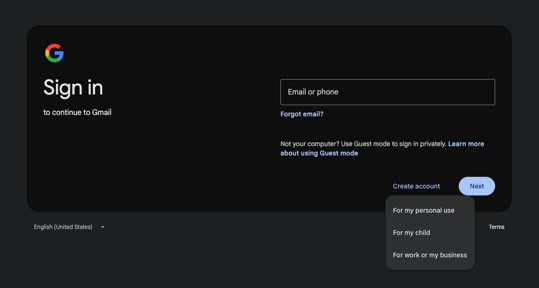
Step 2: Click the 'Create Account' option and select 'For Personal Use'
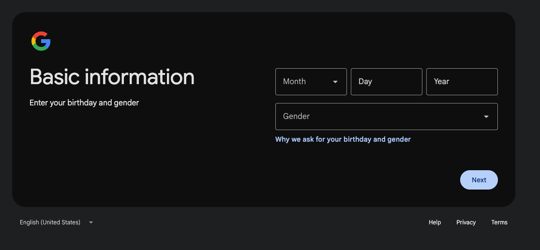
Step 3: Follow the prompts. You will be asked to input your name and date of birth.

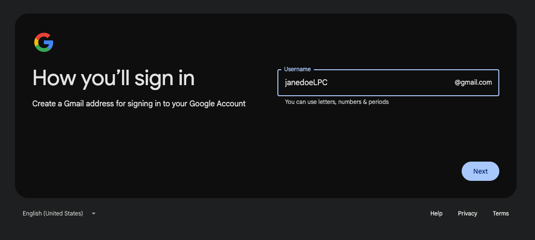
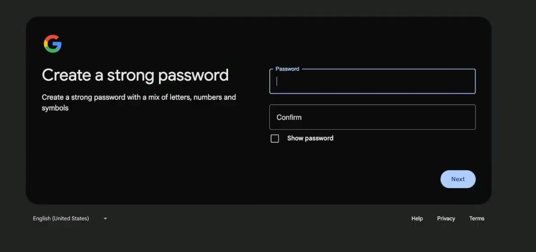
Step 4: Choose an email address and set a password. Mocingbird suggests using your first and last name, followed by your professional credentials for your address, if available. After creating, please set a strong password.
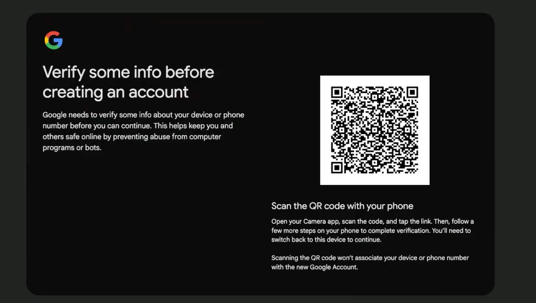
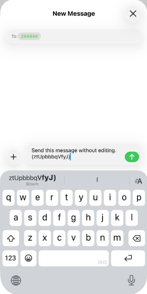
Step 5: Verify your account. Gmail typically presents a QR code to scan with your camera, which will then prompt you to send a text message.
*Sometimes, although more rare, you may be prompted to input your phone number instead of scanning a QR code. After inputting your phone number, you will be sent a code and the Gmail page will prompt you to input the code for verification.


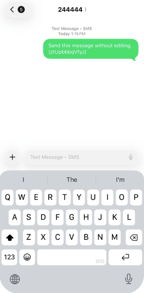
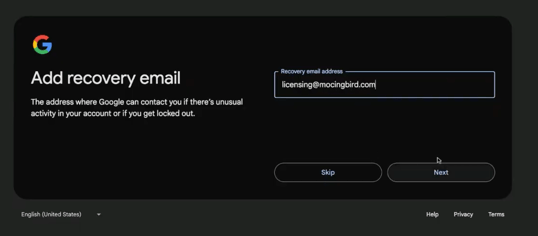
Step 6: Once you send the text, the Gmail web screen will automatically route you to input a recovery email. Please input the recovery email as licensing@mocingbird.com.
Step 7: Follow the prompts to review your account information and finalize the creation of your gmail.
IMPORTANT: please skip any subsequent optional sections, including any that ask you to input a backup phone number. Please LOG OUT of the gmail once created - this is an important step to ensure we can utilize the email at a later time.
---
Well done! Now that your Gmail is created, you'll want to share this information with Mocingbird. Follow the steps below.
---
Adding your Gmail to your Mocingbird Licensing Intake Application:
Step 1: Within your Mocingbird account, enter your Licensing Intake App and navigate to the 'Login Information' section. Scroll down on the page to find the 'Third Party Vendor' options and select 'Gmail.'

Step 2: Once you have selected 'Gmail,' scroll down and input your Gmail username and password in the 'Gmail' section.

Step 3: Click 'Save.' You have now completed all steps and may exit the application.
Thank you! Please reach out via email or chat if you have any questions.